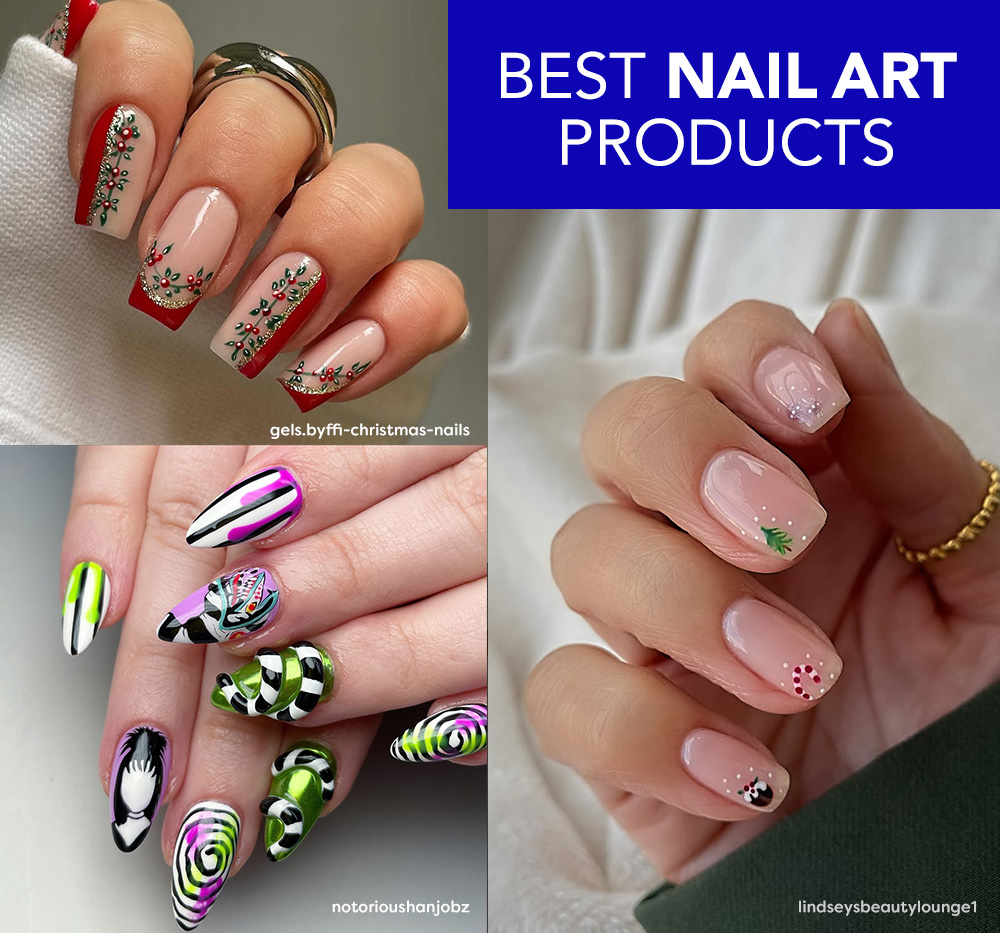
If you’re a nail art enthusiast or simply love experimenting with your nails, this guide will introduce you to the best nail art products for achieving professional-looking designs effortlessly. With these essential tools, you can craft creative and stylish nails that turn heads. To get started, here’s how to use these nail art essentials step by step.
Step 1: Prep Your Nails
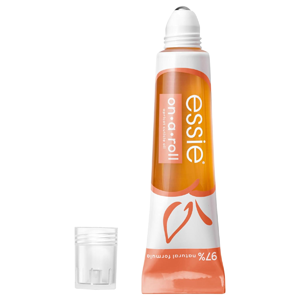
First, start by taking care of your nails and cuticles. Use the Essie Nail Care, Apricot Cuticle Oil and Nail Treatment to hydrate and strengthen your nails. Gently massage the oil into your cuticles and nail beds for a polished base. Afterward, trim and shape your nails to your desired length.
Step 2: Build a Strong Base
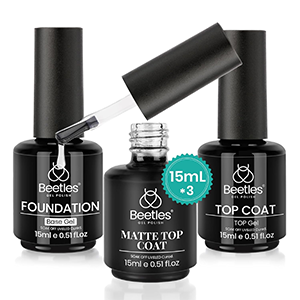
Next, apply the Beetles Gel Polish Base Gel from the Beetles Base Coat + No Wipe Shine Top Coat + Matte Gel Top Coat Set. This will help your nail art last longer by creating a smooth and durable foundation. Cure the gel under a UV or LED lamp for the recommended time.
Step 3: Create Your Nail Art Base Color
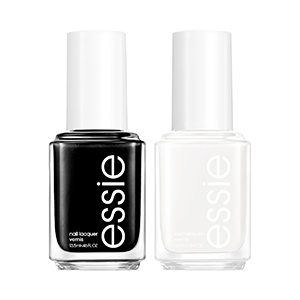
For this look, use the Essie Nail Polish Black And White Set to create a chic base. Paint some nails black and others white to add contrast to your design. Then, let the polish dry completely, or cure under a lamp if you’re using gel polish.
Step 4: Add Intricate Details
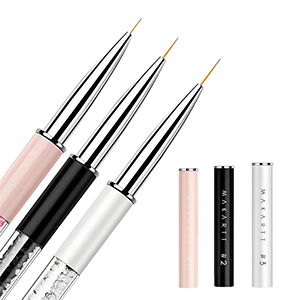
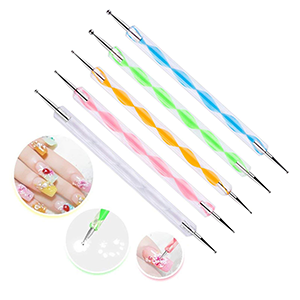
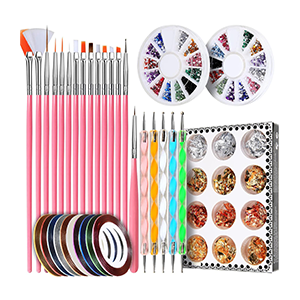
Once the base is ready, unleash your creativity with the Makartt Nail Art Brushes. Use the fine-tipped brushes to draw detailed patterns, swirls, or geometric shapes over the base colors. Additionally, the Dotting Pen Tool Nail Art Tip Dot Paint Manicure Kit is perfect for creating polka dots, flowers, or accent designs effortlessly.
Step 5: Add Sparkle and Shine
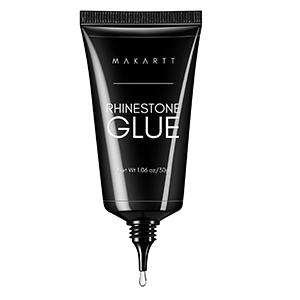
For a touch of glamour, use the Makartt Nail Rhinestone Glue for Nails to secure rhinestones or embellishments from the Nail Art Addict Kit. Meanwhile, place them strategically for a dazzling effect that elevates your nail design. Cure the rhinestones under the lamp to ensure they stay in place.
Step 6: Seal the Look
To finish, apply the Beetles No Wipe Top Coat Gel Nail Polish to seal in the artwork and add a glossy shine. If you prefer a trendy matte finish, opt for the matte top coat included in the set. Finally, cure the top coat under your lamp for long-lasting wear.

Step 7: Touch-Ups and Clean-Up
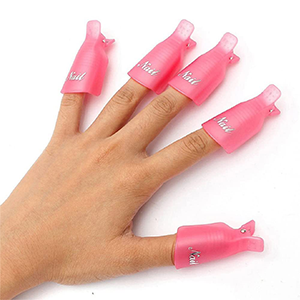
Accidents happen, but the Nail Polish Remover Tool is here to save the day. Use it to clean up any smudges or excess polish around the edges for a flawless finish.
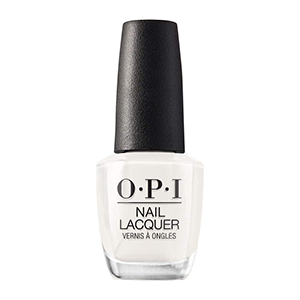
Bonus Tip: For a pop of color, swap out the black or white base with vibrant shades like OPI Nail Lacquer Nail Polish. Moreover, experiment with various color combinations to suit your mood or occasion.
Creating stunning nail art has never been easier. With these best nail art products and a little creativity, you’ll achieve salon-quality nails effortlessly. Ready to elevate your nail game? Click on the links to explore these must-have tools and start crafting your next masterpiece today!
Looking for nail art inspo for Halloween, Christmas, and other fun occasions? Check out these nail art posts for creative designs:
Transform Your Nails with Spooky-Chic Halloween Art
Elevate Your Halloween Look with Hauntingly Cute Nail Art
Viral Christmas Nails for This Season

